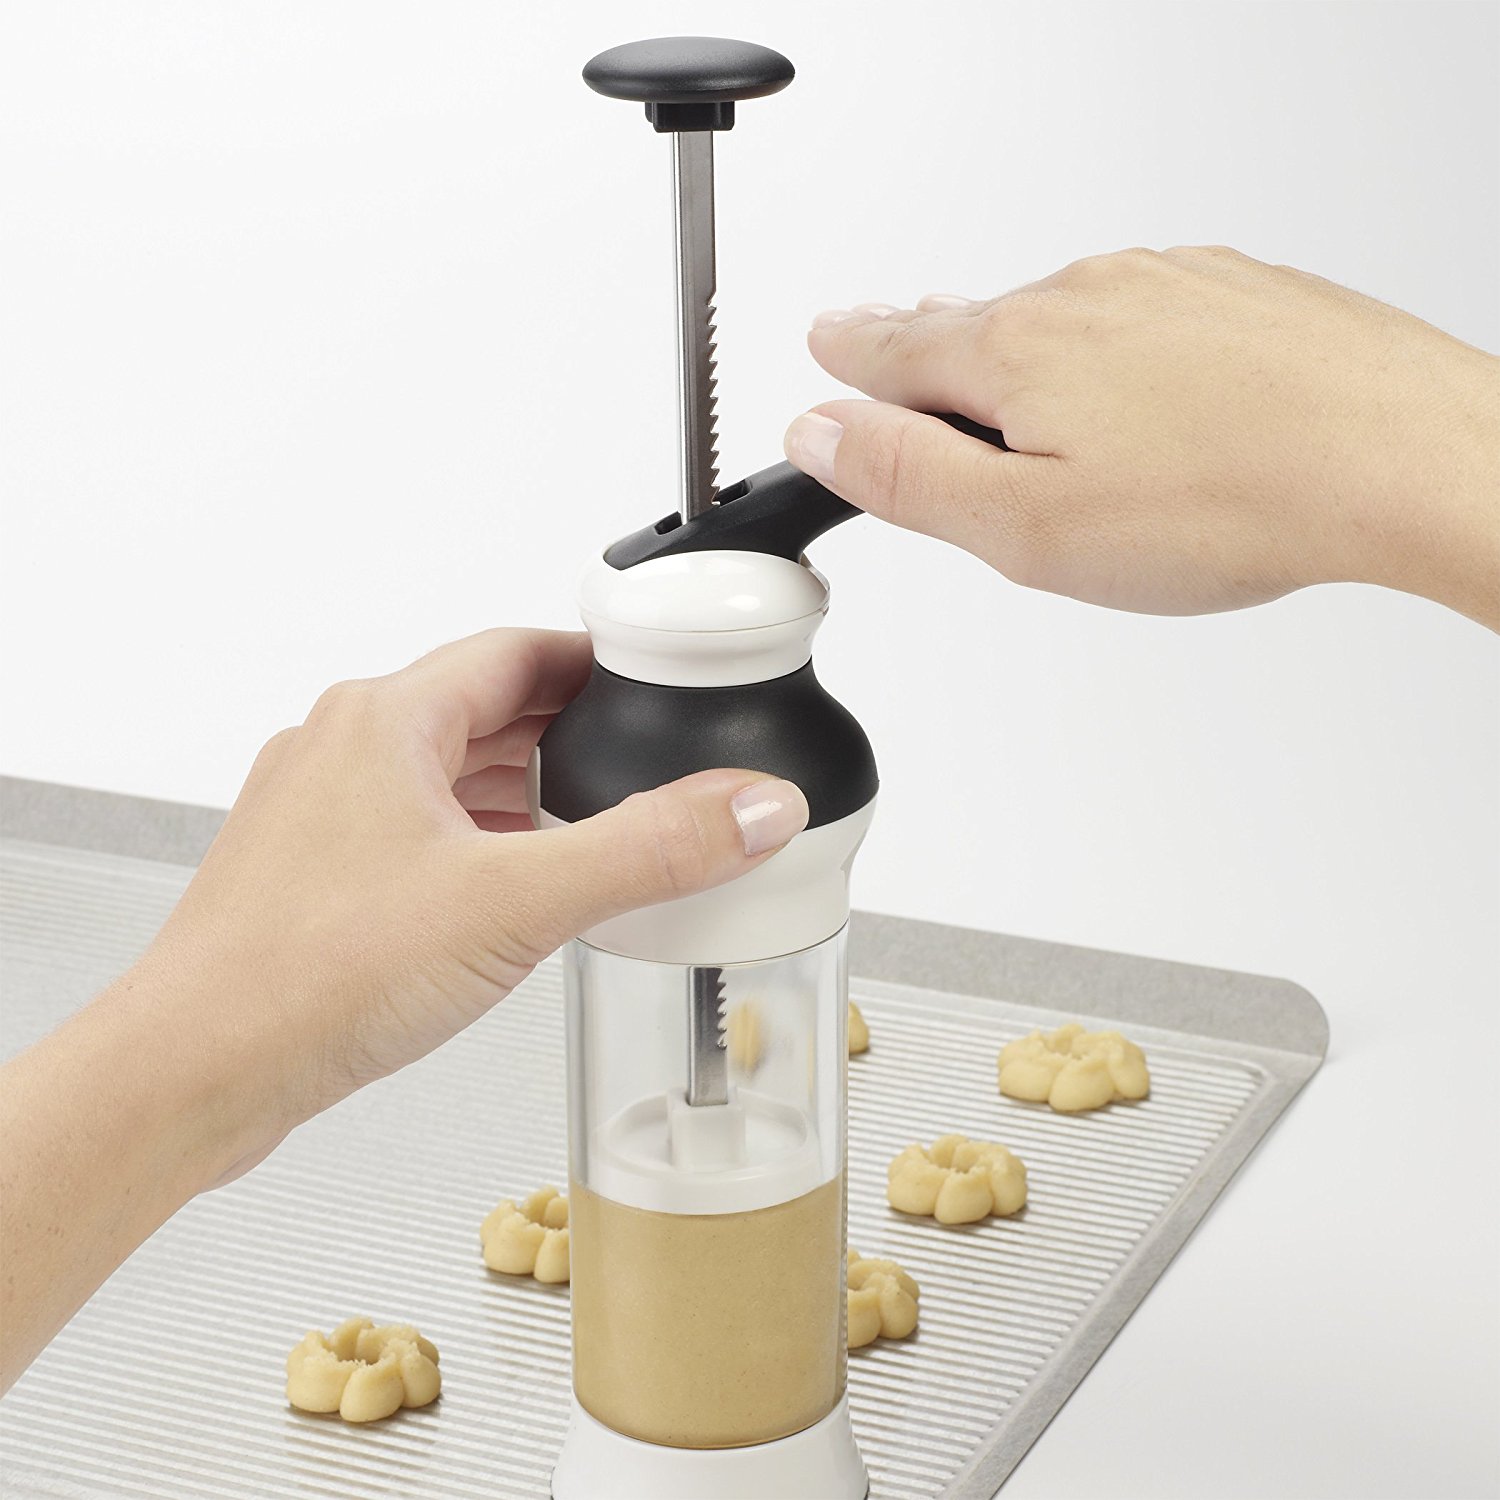
How to Use a Cookie Press
A cookie press (also called a cookie gun) is an apparatus used to make decorative cookies. It comes with a selection of interchangeable, decorative disks that allow you to create individual cookies in many different shapes. By simply changing the disk, you can make cookies in a variety of shapes such as stars, wreaths, flowers, and trees. (Browse different kinds of cookie presses.)
How to Press Beautiful Cookies
- Select a decorative disk. You may switch designs at any point and create a variety of cookies from one batch of dough.
- Attach the design disk to the appropriate end of the press, following manufacturer’s instructions.
- Unstop the other end of the press. Check the plunger rod to make sure it is unscrewed to its full length. Unwind and remove the plunger end.
- Pack the tube with dough, pressing it firmly to remove air pockets. Screw the plunger end onto the tube. Twist the plunger clockwise until you feel its pressure against the length of the dough. You may see the dough as it begins to protrude through opposite end of the press at the design disk.
- Hold press so that its three “feet” rest on the baking sheet. Twist the plunger handle clockwise, allowing dough to be turned out onto the baking sheet to form a cookie. Allow dough to adhere to the baking sheet. You will see the dough at the rim of the press.
- Release the handle and lift the press, leaving a beautifully-formed cookie on the tray.
- Repeat the motion until you have pressed all the dough into cookies.
The Elf's Top Tips for Press Success
Mix dough thoroughly. Avoid clogging press disks by making sure your dough is mixed thoroughly. If the recipe calls for nuts or other chunky ingredients, chop them finely. Smooth dough will allow you to press clean cookies.
Tint dough. You can tint dough with food coloring for prettier cookies – green for trees and pink for hearts, for example. Mix small amounts of color into the dough until you reach the desired shade.
Maintain dough temperature. Cookie dough should be room temperature when filling the press.
Don't grease the baking sheet. Pressed dough will adhere to the cookie sheet better if the sheet is not greased.
Fill cookie press. To fill the cookie press, form dough into a log-shaped cylinder slightly smaller than the width of the press tube. Gently push the dough into the tube. Use a spoon or a spatula to compress the dough and remove air pockets.
Press evenly. As you create cookies, do not force the press handle down too heavily on the baking sheet. If you find you need to “force” the dough through the press, it may be too stiff.
Test cookie dough. Bake a test batch (about 2 or 3 cookies) to test the dough’s consistency. Adjust accordingly.
Using a cookie press may take a little practice, but you will soon find it
is easy to master and produce
beautifully shaped cookies. Browse cookie presses here.
More on pressed cookies
How to make pressed cookies ...
Peppermint Spritz: easy to make with a cookie press ...
Vanilla Press Cookies: a Classic Pressed Cookie Recipe ...
See our Pinterest Board for more pressed cookie and spritz ideas ...
Return from How to Use a Cookie Press to The Cookie Elf home
Find A Cookie Recipe or Cookie Baking Tip
The Cookie Elf
FREE! 6 Easy Cookies Recipes for Kids and Families
Get your free copy here or when you fill in the form below.


New! Comments
Have your say about what you just read! Leave me a comment in the box below.